Introduction
Recently while working on my travel blog (coming soon), I wanted to move my photos from my Android phone to an external hard drive using my Mac book. But as we know — not everything goes as planned and the first thing I had to figure out how to connect my android device with Mac (Bonus: https://www.android.com/filetransfer/). When I connected my external hard drive — I was stuck, not able to use an external hard drive with Mac.
After a lot of research, I was able to make it work, and don’t worry by the end of this blog you will too (cheers 🥂).
Is your external hard drive showing up on mac ?
Important: Before going ahead let’s first make sure that our hard disk is detected by our Mac.
- Connect your hard disk using a connecting USB cable.
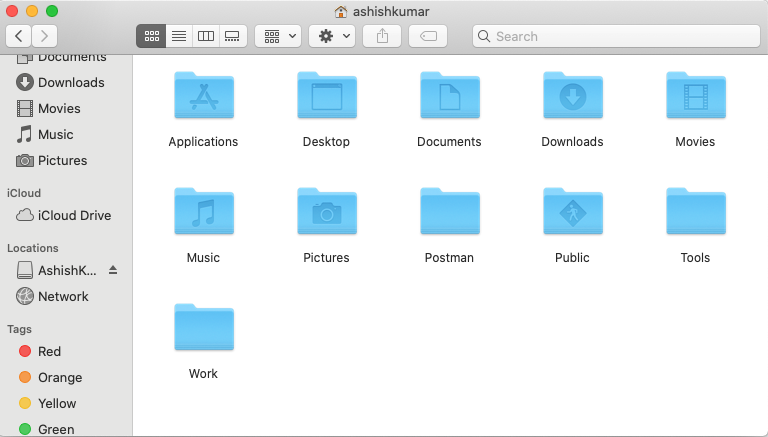
- Now open your finder and you should be able to see your external hard disk available on the left side panel (Locations).

- Mac can’t read my external hard drive – don’t worry you can follow this blog fix external hard drive issues on mac.
- Your hard-disk is showing up – Great! let’s get going.
Mac can only read my external hard drive – Let’s Fix it Now!
Great your hard drive is working fine and is detected by system, but now you might be wondering what’s good of an external hard drive if it’s “Read Only”? and you can’t really add more data on it.
Don’t worry I got you covered here - there is an open-source “free tool” called Mounty, which we are going to use, but before we do that let me give you some technical details:-
Why are we seeing this behaviour in the first place ?
Mac uses the HFS+ file format while Windows uses the NTFS file format. For a hard drive to be able to be read and written to in both Windows PC and Mac computer, it must be formatted to ExFAT or FAT32 file format.
Did you get the clue? No? Okay “Your external hard drive is currently using NTFS file format”, hence it’s read-only in Mac by default.
What’s next right? We have two options:-
- If you don’t really care about data already stored on the hard disk – simply format it to either ExFAT or FAT32 file format.Steps to format a external hard drive to Fat32 or ExFAT on Mac:
- Plug your external hard drive into your system.
- Next, select Applications>Utilities and then launch Disk Utility from the disk utility sidebar, select the hard drive
- From the disk utility toolbar, chose Erase
- Give the formatted disk a name and select either MS-DOS (FAT32) or ExFat from the format menu.
- Select erase. Now your disk/drive will be reformatted to either FAT32 or ExFAT depending upon your selection.
- Use a tool to enable mac write to NTFS external hard drive.
Step-by-step how to write to NTFS external hard drive on mac – Free tool Mounty

- Let’s install Mounty using brew
brew cask install mounty - Connect your external hard drive. A pop-up will appear.

- Click Yes, sure! **- Mounty asking your permission to remount your external hard drive in read-write mode.

- Voila! – now you can open your external hard drive in read-write format in finder.
Conclusion
Mac OS by default doesn’t support NTFS format for write operations. It’s best to format external hard drives in ExFAT or FAT32 format for better Windows, Mac compatibility. However, in case you choose not to, there are alternate ways to continue using NTFS external hard drives with Mac.
Don’t forget to leave your feedback or queries in comments.
Bonus
There are other premium tools available and they charge you for advance features. These are a few, most popular of them:
You might also wanna read – How to recover deleted files in Ubuntu


